
Protecting your pictures during a move needs careful attention, since frame corners get damaged most often during transport. Your family photos and valuable artwork deserve proper care, and the right packing methods help avoid devastating damage that can get pricey to fix.
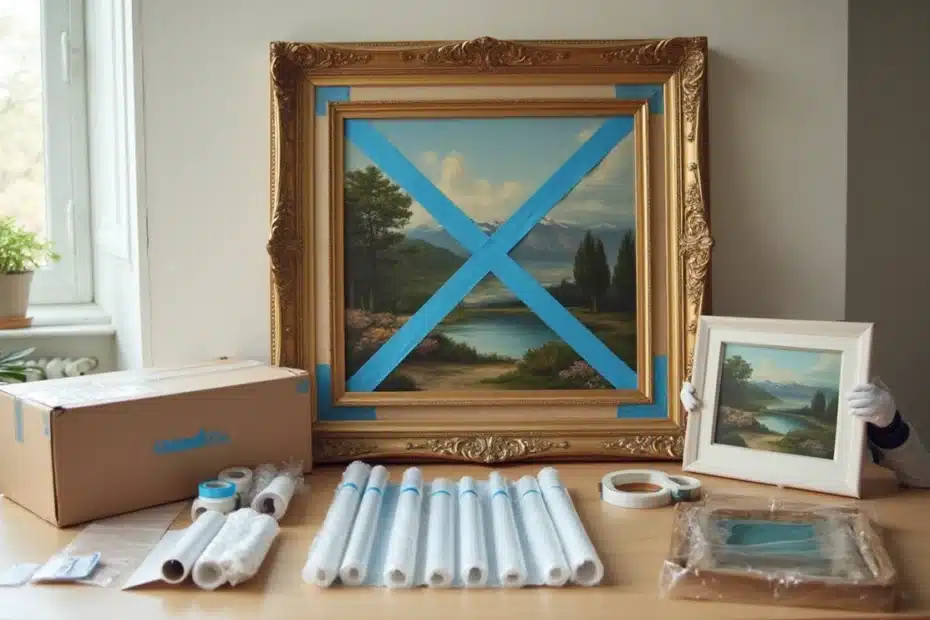
Packing framed pictures needs specific tools and expertise. You’ll want to start by placing painter’s tape in an X pattern on glass surfaces. Special mirror/picture boxes work well for frames up to 48″ x 32″. Larger artwork requires a creative solution – you can join two mirror/picture boxes to make a telescoping container that fits pieces up to 58-1/2″ x 37-1/2″ x 4″. Custom crating might be your best choice if you have high-value art with monetary or emotional worth. Many moving companies also provide professional packing services for delicate items like mirrors and artwork.
Let us guide you through the essential steps to safely pack and move your treasured pictures, mirrors, and artwork during your upcoming relocation.
Understanding the Value and Fragility of Your Pictures
Pictures mean much more than simple decorations—they capture irreplaceable moments and represent valuable investments. Art pieces and photographs hold cultural and emotional value that makes any damage devastating. A simple scratch on a painting or a chip on a frame can reduce both monetary and sentimental worth by a lot.
Why sentimental or high-value art needs extra care
Art pieces hold deep emotional connections that make damage truly heartbreaking. Fine art reacts easily to environmental changes—oil paintings can crack with temperature changes, and wooden frames warp in humid conditions. The biggest threat to artwork during moves comes from poor handling and low-quality packing materials.
Art materials have their weaknesses. Canvas tears easily, glass breaks, and delicate details smudge or chip with slight mishandling. Small vibrations during transport can damage a painting’s frame or crack fragile elements. Each piece needs its own protection strategy because one-size-fits-all solutions don’t work.
When professional packing or crating makes sense
You need professional packing for irreplaceable or valuable pieces because DIY methods can’t protect them well enough. Custom crating gives better protection against shocks, moisture, and temperature changes that regular packing materials can’t provide. Large or uniquely shaped artwork often needs custom crating as the only option.
Professional services make sense for artwork that:
- Has high monetary or emotional value
- Contains fragile parts like glass or delicate details
- Reacts to environmental changes
- Has an unusual size or weight
Professional art handlers work with museum-grade materials like acid-free tissue paper, custom-made crates, and shock-absorbing packing materials. They also provide climate-controlled transport that keeps conditions stable throughout the move—a vital step to prevent warping, cracking, or other damage.
DIY packing might save money at first, but the risk to valuable artwork makes professional services worth the cost. Good protection will help your cherished pieces arrive at your new home safely.
Essential Supplies You’ll Need Before You Start
The right supplies make all the difference in packing pictures safely. I always gather everything I need before starting to box up any frames.
Mirror and picture boxes
These specialized boxes come with a telescoping design that fits different frame sizes. Standard moving boxes don’t cut it – picture boxes have extra reinforcement at corners and edges where damage usually happens. Most boxes fit frames up to 48″ x 32″, which works great for regular artwork and family photos. You’ll need adjustable boxes for anything larger.
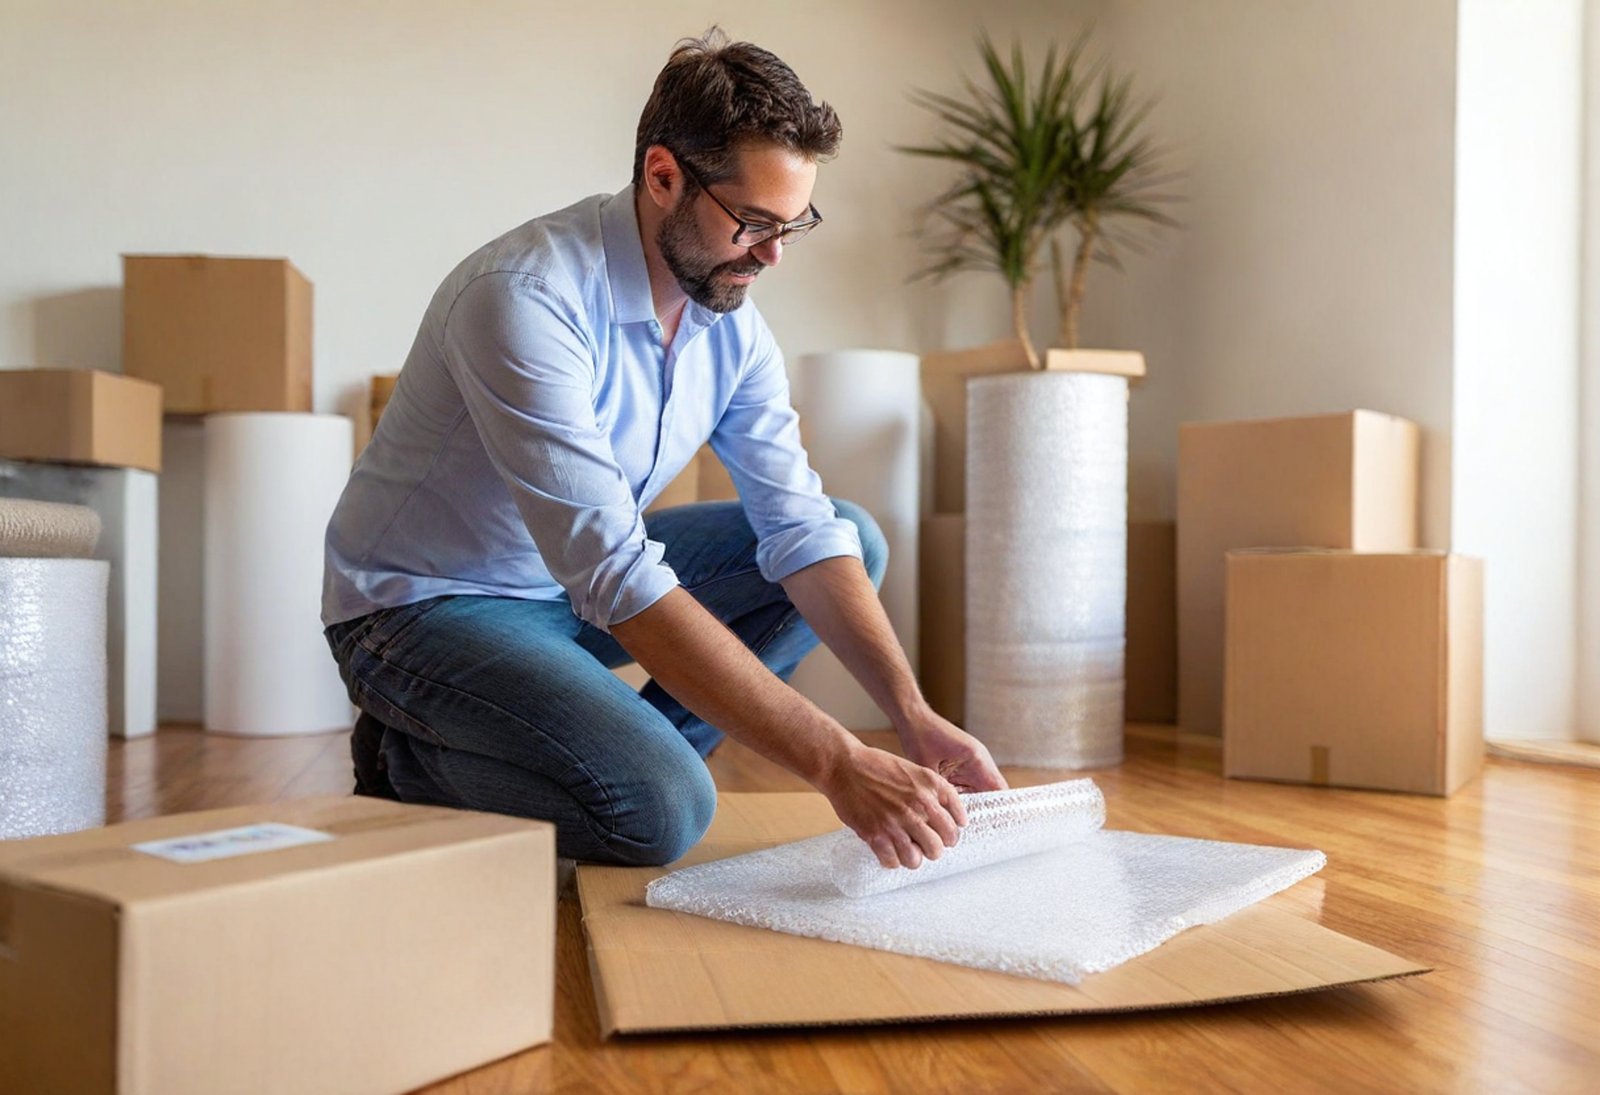
Bubble wrap and stretch wrap
Small bubble wrap cushions your pieces best against bumps and vibrations. It molds easily around frames too. Clear stretch wrap (plastic wrap) keeps moisture and dust away while holding other materials in place. The clear variety prevents any color bleeding onto your artwork or frames.
Painter’s tape and packing tape
Blue painter’s tape does double duty – it makes an X-pattern on glass to prevent shattering and holds wrapping materials without leaving residue. Regular packing tape keeps boxes sealed tight. The distinctive blue color helps you avoid sticking tape directly on valuable pieces.
Cardboard pads and corner protectors
Rigid cardboard pads sandwich the front and back of frames to protect them. Those angular cardboard corner protectors guard the spots most likely to get banged up. These simple additions really cut down on damage during moving and transport.
Markers and labels
Good permanent markers help you write clear handling instructions on boxes. Don’t just write “FRAGILE” – add specific notes like “THIS SIDE UP” or “DO NOT STACK.” Bright labels make picture boxes stand out from other moving boxes, so everyone handles them with extra care.
Getting all these supplies ready beforehand makes the actual packing much smoother and stress-free.
Step-by-Step Guide to Pack Pictures Safely
Your framed photos and artwork need proper packing to reach your new home safely. These six steps will give you a reliable way to pack your precious pictures.
1. Measure and choose the right box
Take measurements of your picture’s dimensions (length, width, depth) and pick a box about 30% larger than your frame. This extra space lets you add protective padding. Standard frames fit best in specialized mirror boxes designed for frames up to 37″ x 27″. Your larger artwork might need telescoping boxes that can expand to fit pieces up to 54″ wide when you combine two boxes.
2. Apply painter’s tape in an X pattern on the glass
Make an X with painter’s tape across any glass surface to stop it from shattering during the move. Painter’s tape works better than regular tape because it won’t leave any residue on glass. Should the glass break, the tape helps keep glass fragments together and protects the artwork underneath.
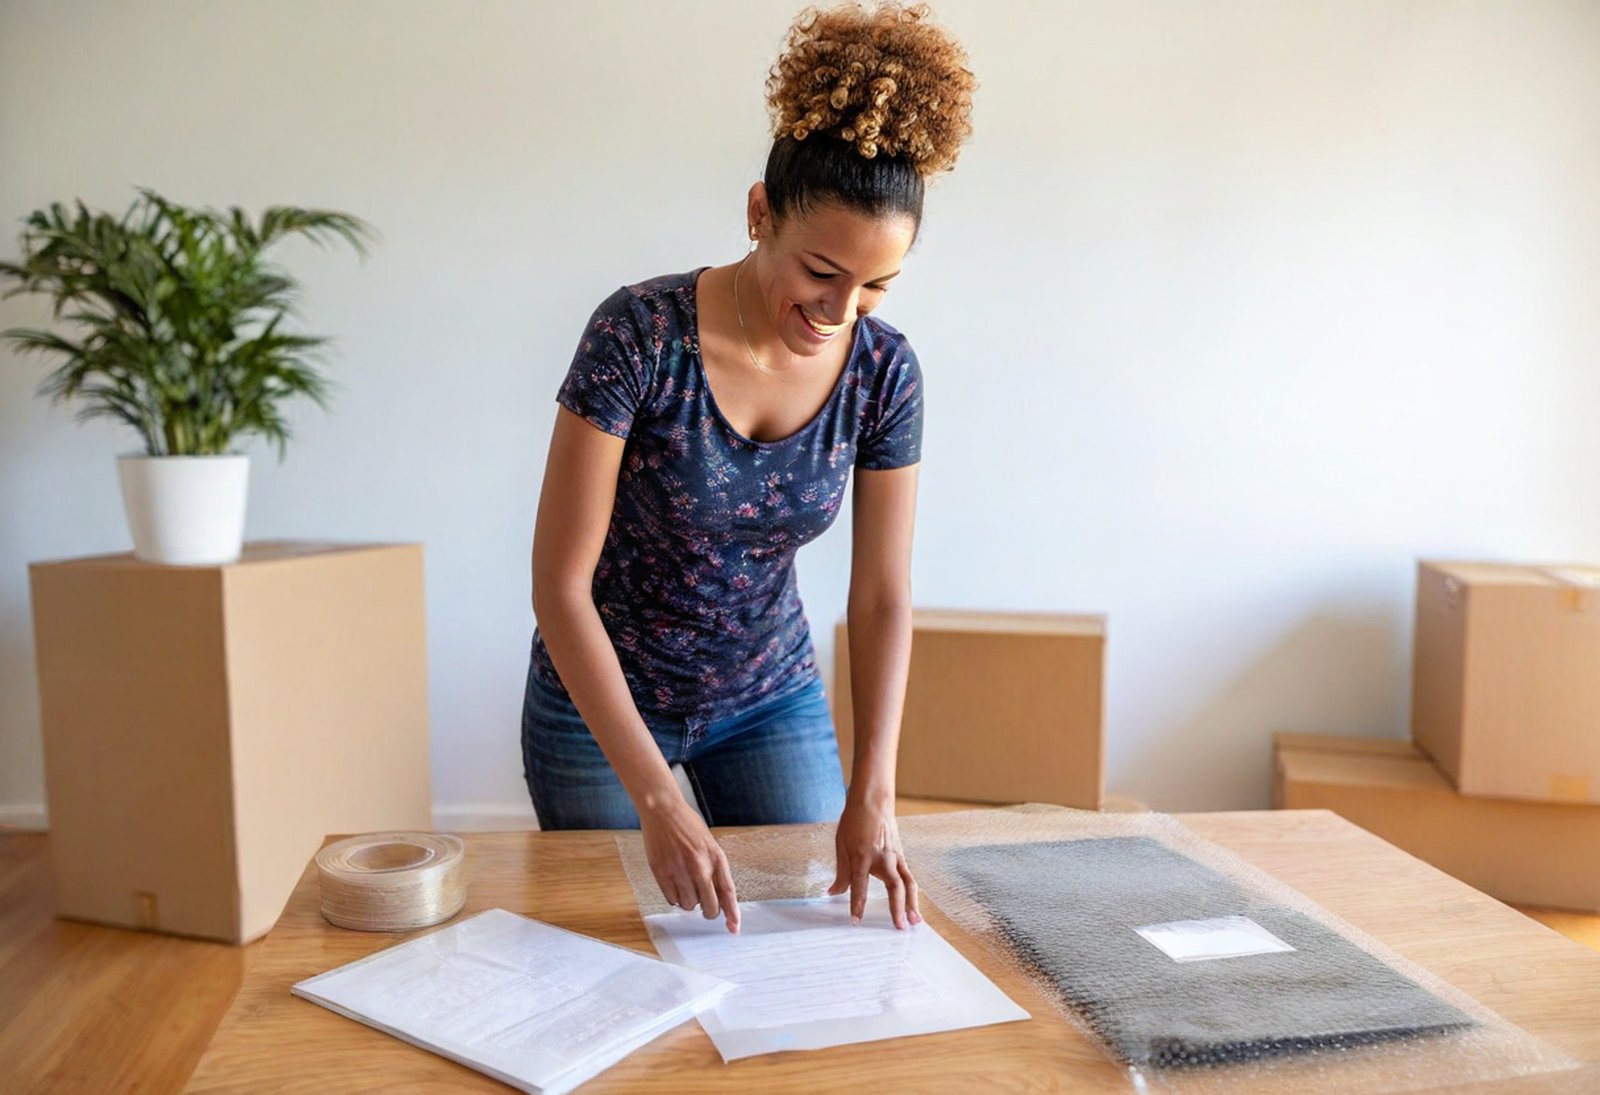
3. Wrap with stretch wrap and bubble wrap
Start by covering your picture with plastic stretch wrap. This creates a moisture barrier and gives basic protection. Next, add at least two layers of bubble wrap with bubbles facing out so they don’t leave marks on the frame or artwork. Use packing tape to secure all wrapping and make sure the corners have good protection.
4. Add a cardboard sandwich or sleeve
Your picture needs more protection. Create a “sandwich” with cardboard pieces on both sides of your wrapped picture. Another option is to use corner protectors on all four corners since they’re most likely to get damaged during transport. This hard layer stops bending and takes the impact of bumps.
5. Fill gaps and seal the box
Put your wrapped and protected picture vertically in the box. Stuff all empty spaces with crumpled packing paper or more bubble wrap until nothing moves when you shake it gently. Use packing tape to seal the box completely and reinforce the bottom and all seams.
6. Label clearly and test for movement
Write “FRAGILE” and draw “THIS SIDE UP” arrows on several sides of the box. Write down what’s inside and which room it goes to – this makes unpacking easier. Give the sealed box a gentle shake as a final test. If you hear or feel anything moving, open it up and add more cushioning before sealing it again.
Special Tips for Large, Framed, or Glass Pictures
Moving big, delicate pictures comes with its own set of challenges. These items need special boxes and more protection than your regular packing supplies.
How to pack large pictures for moving
Start by measuring your large artwork and pick boxes that leave 2″ of space on each side. Your pieces might be too big for regular boxes, so you’ll need custom-sized ones. Start with glassine paper to wrap each piece, then add bubble wrap and secure it with tape. The artwork should go vertically in the box – this gives it better protection against damage.
How to pack framed art for moving
Take off any sharp hanging brackets or tape them down so they don’t catch on anything. Wrap your framed pieces in plastic, then put bubble wrap on the corners first and tape it down. After that, wrap the top and bottom edges. The frame needs to go vertically in your box – laying frames flat creates pressure points that could damage them.
How to pack mirrors for moving
Make sure your mirrors are clean and dry before you start. Put painter’s tape in an X-pattern on the glass. Cut pieces of cardboard a bit bigger than your mirror and tape them to the front and back. Add corner protectors, then wrap the whole mirror in bubble wrap.
Using telescoping or four-piece boxes
Four-piece mirror boxes work for items up to 40″ × 60″ × 3½” and can hold up to 65 pounds. Really big pieces need two large mirror boxes put together to make a telescoping box – these fit framed items up to 66″ wide. You can adjust these boxes by sliding the sections together to get the exact size you need.
When to double-box for extra protection
Double-boxing is your best bet for valuable or fragile items. Put your wrapped item in one box, then put that box inside a bigger one with 2-3 inches of padding between them. The outer box takes the hits while the inner box stays safe from impacts.
Conclusion
Your precious artwork and photographs need careful planning and the right materials when you move. These pictures carry memories and value you can’t replace, making extra precautions essential. This piece explores ways to protect your framed pieces. You’ll learn everything from using painter’s tape on glass surfaces to picking specialized packing materials.
Your frame’s corners face the highest risk during transport. That’s why corner protectors and proper boxing can make all the difference. Fragile items need your time and attention. A rushed packing job could leave you with heartbreaking damage that you could have avoided.
Professional packing services give you peace of mind that DIY methods can’t always provide, especially when you have valuable or sentimental pieces. Custom crating costs more but shields your irreplaceable artwork better. All the same, the step-by-step method above helps many people move their pictures safely.
Packing pictures takes time, but seeing your frames arrive undamaged at your new home makes the careful work worth it. You’ll thank yourself later for securing these treasured items properly now. These images do more than decorate walls – they keep our memories alive, show who we are, and link us to life’s most important moments.